
I never noticed it growing up but I see it now, TOS is profoundly flakey. My ST has a TOS 1.62 ROM built in and it does not play nice with hard drives.
There’s a simple solution to this, use the wonderful open source EmuTOS instead. Now I’m not resourceful enough to go writing EmuTOS to a flash ROM but my ST does have enough RAM that I can easily get away with loading it up from the hard drive.
What’s so great about this so-called EmuTOS?
- It’s free, open source software and still under very active development.
- Adds some nice quality of life features to the ST desktop such as a rudimentary built-in CLI and support for launching applications from associated file types (see Setting up EmuTOS below).
- Hotkey customisation.
- Advanced file management.
- Familiar UX paradigms with a modern twist.
Caveats
Not everything is compatible with EmuTOS, most notably games. I prefer to run games from floppy so skipping hard drive boot by holding down the Alternate key when turning on helps here.
Installing EmuTOS
Standard Installation: Auto-Booting PRG
This is the normal way to install EmuTOS but I had trouble getting it to play nice with my ACSI2STM drive. See Advanced Installation: bootloader below if you are also using ACSI2STM.
Instructions to install are here. Grab the latest version of EmuTOS here, look for the file beginning with emutos-prg-... (not emutos-prg256-...) to boot from the hard drive, or emutos-floppy-... to boot from, you guessed it, floppy. The latter is a bootable floppy image that you can either run directly from a Gotek or write to a floppy disk if you still have the means to do so.
In the emutos-prg-...zip file there are a bunch of language versions to choose from, I use emutosuk.prg for PAL English, but you can also use the multilingual emutos.prg if you’re not sure. See the bundled readme.txt for more information. Copy the appropriate .prg file into the AUTO folder of your boot partition. Next time your ST boots from your hard drive you should find yourself inside EmuTOS.
Advanced Installation: 3rd Party Bootloader
This is the approach I use as it’s compatible with the ACSI2STM drive I use. Essentially it takes over the boot process and drivers that would normally be set up by ACSI2STM. The only drawback as far as I can see is that it doesn’t play nice with the realtime clock on the ACSI2STM, but it does allow for more flexibility with partitions for example.
This is a bit more advanced but the instructions are quite clear. Check out the GitHub project page for downloads and instructions.
Setting up EmuTOS
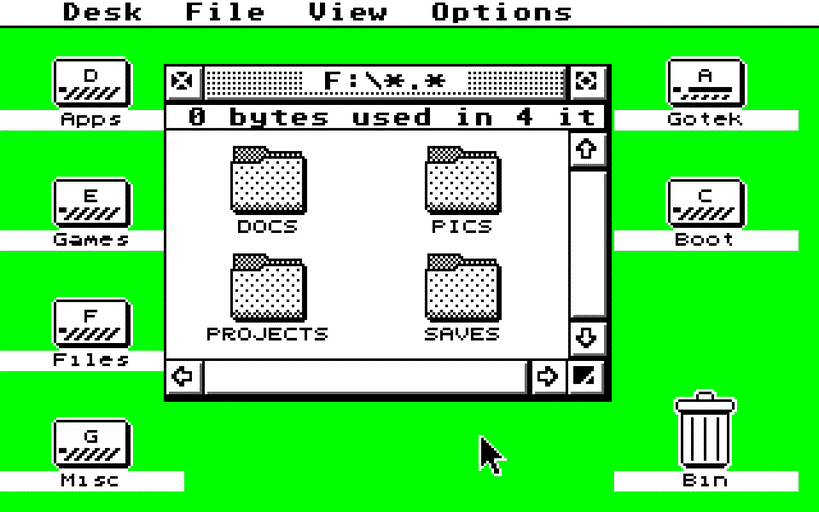
EmuTOS follows many of the same design paradigms that the GEM desktop does so it shouldn’t feel too alien. The first thing to do is make sure all your partitions are recognised:
- Click
Optionsand selectInstall devicesto ensure your partitions are visible on the desktop.- For some reason I end up with duplicates, these can be safely removed by clicking on them and then going to
Options>Remove desktop icon
- For some reason I end up with duplicates, these can be safely removed by clicking on them and then going to
- Configure a desktop icon by selecting it then going to
Options>Install icon...- From here you can set the icon’s name and change it’s icon
- Don’t forget to save your desktop settings whenever you make a change! Go to
Options>Save desktop...- The filename for EmuTOS saved desktops is
EMUDESK.INF, notDESKTOP.INF.
- The filename for EmuTOS saved desktops is
Once you have some applications living on your hard drive, you can even set up file associations so that double-clicking on a file with that installation will open it in the appropriate application. To do this:
- Select an application’s
.PRGfile. - Go to
Options>Install application....- For example, to associate
.TXTfiles withProtext, selectPROTEXT.PRGand set the following configuration options:- Document type:
TXT - Default dir:
Application - Parameter:
Full path
- Document type:
- For example, to associate
© Copyright 2026
Phil Watson
Last updated
Saturday, 23/May/2026 14:43 +1000