- Garcia's Guide to the Galaxy
- Posts
- Don't Write CSS
As part of an upcoming piece of work, it was suggested to me that I spend some time getting familiar with Tailwind CSS. I’d heard good things from colleagues, one comment in particular suggesting it doesn’t hold you back like other CSS frameworks. So I was quite keen to dig in and see what was so special about it.
And the truth is, well, not a whole lot. Don’t get me wrong, it’s pretty clever how it does things but the most value I got out from it was this principle; with a sufficient collection of standardised styles, there is little need to write custom CSS.
So the goal of this article is to explore how we can lean on these style frameworks and minimize the amount of custom CSS we have to write.
Well, how does Tailwind CSS do this? It’s all about those Utility classes. So for example, to make a white card with rounded corners and a drop-shadow (inspired by this example), you could do something like this:
<div class="bg-white rounded-xl shadow-lg">My Card Content</div>
So far, nothing truly groundbreaking but like I say, the principle is sound; you can easily determine what the element will roughly look like just by taking a gander at the HTML code. Taking full advantage of these utility classes in any framework should be encouraged as it guarantees a level of consistency when used properly.
And these utility classes are common in many CSS frameworks, including Bootstrap, MudBlazor and UIKit, the latter of which I use for this very site.
Where the aforementioned CSS frameworks differ from Tailwind CSS is that vanilla Tailwind is a comprehensive collection of utility classes only, while the others are component libraries as well. But when I say comprehensive, I mean comprehensive. While the utility classes of the other frameworks are relatively limited and may necessitate some custom CSS depending on your desired style complexity, for the majority of styling cases I expect you could get away with using Tailwind without any custom CSS. Of course, not being a component library you’d also be responsible for crafting components yourself. Probably not ideal if you want to get off to a quick start, although there are options for extending what Tailwind CSS does with Tailwind UI and Headless UI, for example.
Whether you’re using a component library or a utility library, if you’re building anything other than the most simple of sites you’ll probably end up with a component library of your own. A component could be an elaborate article layout made up of other components from an imported library, or it could be a simple button that is styled with Tailwind utility classes. Most frameworks for building websites or web apps will have support for components/templates/partials, the only place this wouldn’t really work is in plain ol’ HTML.
With Tailwind, custom components are pretty much essential for keeping a consistent style without repeating yourself.
Take Hugo for example, the static site generator I use for this very site. Its theming system supports components, so if I wanted to make a theme with a standardised link button, I could build one up like so:
<a class="h-10 px-6 font-semibold rounded-full bg-violet-600 text-white leading-9 inline-block"
  href="{{ .link }}">{{ .text }}</a>
And use it like this to have a consistent button style across the site:
<div>
  {{ partial "button" (dict "link" "posts/random" "text" "Random") }}
</div>
This means that you can easily reuse the link button’s style all throughout the app without repeating the styling. Want to change the styling? Change the template, done.
I suppose now is a good time to talk about CSS modules (sorry, Tim). I feel that they actually encourage style fragmentation and therefore inconsistency. Proper use of a CSS library’s utility functions can completely eliminate the need for them.
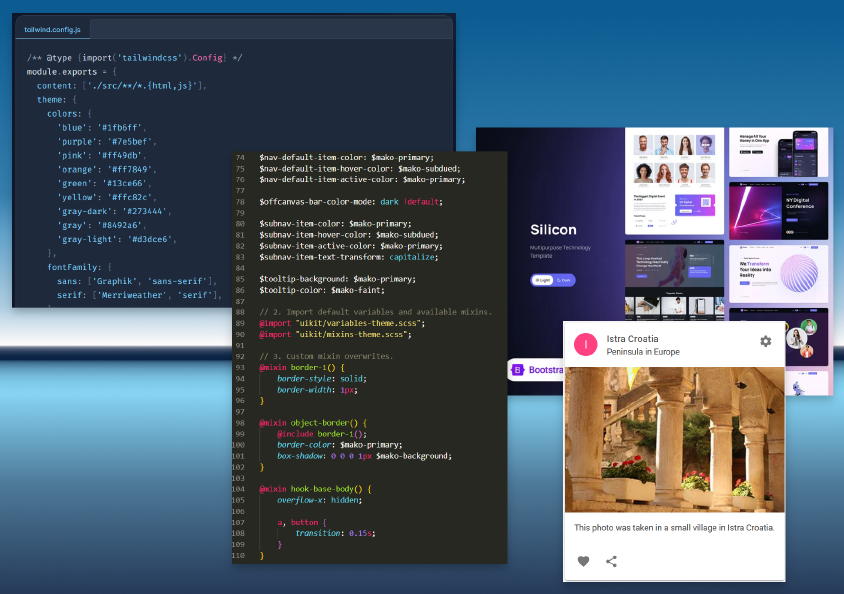
This is where things start to get really juicy. Historically I’d have written my own CSS file to override any libraries I was using. That’s pretty nasty, often relying on !important flags to get things to work. Many CSS frameworks offer their own theming helpers, or SCSS features like variables and mixins. Tailwind has support for customizing your theme in a config file, allowing you to specify fonts, colours, and other properties, all without having to add your own CSS classes.
I had a think about how I can take advantage of something similar with UIKit for this site, and yes, you can theme UIKit. It’s a good deal more involved than Tailwind, relying on examining UIKit’s own source code to find the variable names for features you want to override. For properties that don’t have variables, UIKit offers a comprehensive number of mixin hooks. For styles that aren’t covered by those two features, yes, it may be necessary to write some custom CSS classes.
Armed with a fresh perspective thanks to Tailwind’s ideas and the CSS knowledge I’ve developed over the past ~25 years, I had a go at applying what I’d learned to the theme that I built for this very blog. You can see the resulting SCSS file here.
By leaning on UIKit’s utility classes and variable substitution, I was able to greatly reduce the amount of custom CSS I was working with, while avoiding the need for tricks such as !important or hyper-specific element selectors. In my case, UIKit didn’t cover all my needs so I still had to write some custom CSS classes, but managed to confine the majority of these to mixins.
So to summarise, here are the main techniques, by priority, that I would recommend to follow to effectively apply styling to a website or web application while keeping consistency and maintainability as simple as possible.
This should be the first port of call. With good theming, you should be able to set up the majority of your site’s styles easily in one place. Some examples:
Tailwind provides a very straight-forward, logical approach to theming. I like it a lot! Set up a configuration file with the basic sizing/spacing/colours/etc and I reckon you’d be >90% the way to having a framework that works straight away.
Not the easiest, as mentioned before, but effective nonetheless. Some of the more common variables are defined at a global level and reused where appropriate to reduce the number of places you need to change it.
This Material style component library for Blazor does a lot out of the box, and has a pretty nice theming system as well. Simply spin up a new MudThemeProvider and set the new properties using good ol’ C# code.
Good ol’ Bootstrap lets you use Sass in a way not too dissimilar to UIKit.
With the absolute basics of your style set up through theming, the next step is to use those components and utility classes to take advantage of the theme.
Tailwind on its own doesn’t provide any components, so it’s up to you to make your own. As mentioned before, it does provide a comprehensive suite of utility classes (it even calls itself a “utility-first framework”), and by building up your own suite of components you can ensure consistency across your app.
Creating Components with Tailwind CSS
UIKit has a great selection of components with basic styling out the box. In a way that’s nice because it encourages you to style them your own way. There are also a number of utility classes to tweak elements to your needs, although not as comprehensively as Tailwind.
The MudBlazor library has many components based on Material Design principles. Material Design is quite opinionated anyway, so you probably don’t want to deviate from that too much. Regardless, there are a number of utility classes available to help get things just right.
And of course the daddy of CSS frameworks, Bootstrap. Certainly it was the first example I saw of a comprehensive suite of components. It also provides a number of utility classes to tweak your designs.
Hopefully steps 1 and 2 have got you what you need, but in case they don’t, well sometimes you do just have to get your hands dirty with a bit of manual CSS. The first thing to do would be to take advantage of mixins so that you’re injecting the styles into existing classes without creating new classes.
As a very last resort, and I will acknowledge that this is often unavoidable, you can of course create your own CSS classes.
Alright, so you’ll probably still have to write CSS. But with the steps outlined above, hopefully you can get away with minimizing the amount of custom CSS you have to write. Lean on those framework features and the world will be a better place, guaranteed!
© Copyright 2025
Phil Watson
Last updated
Thursday, 29/May/2025 09:38 +1000